Buying Vs Tying your Fishing Flies!

Buying Vs Tying your Fishing Flies!
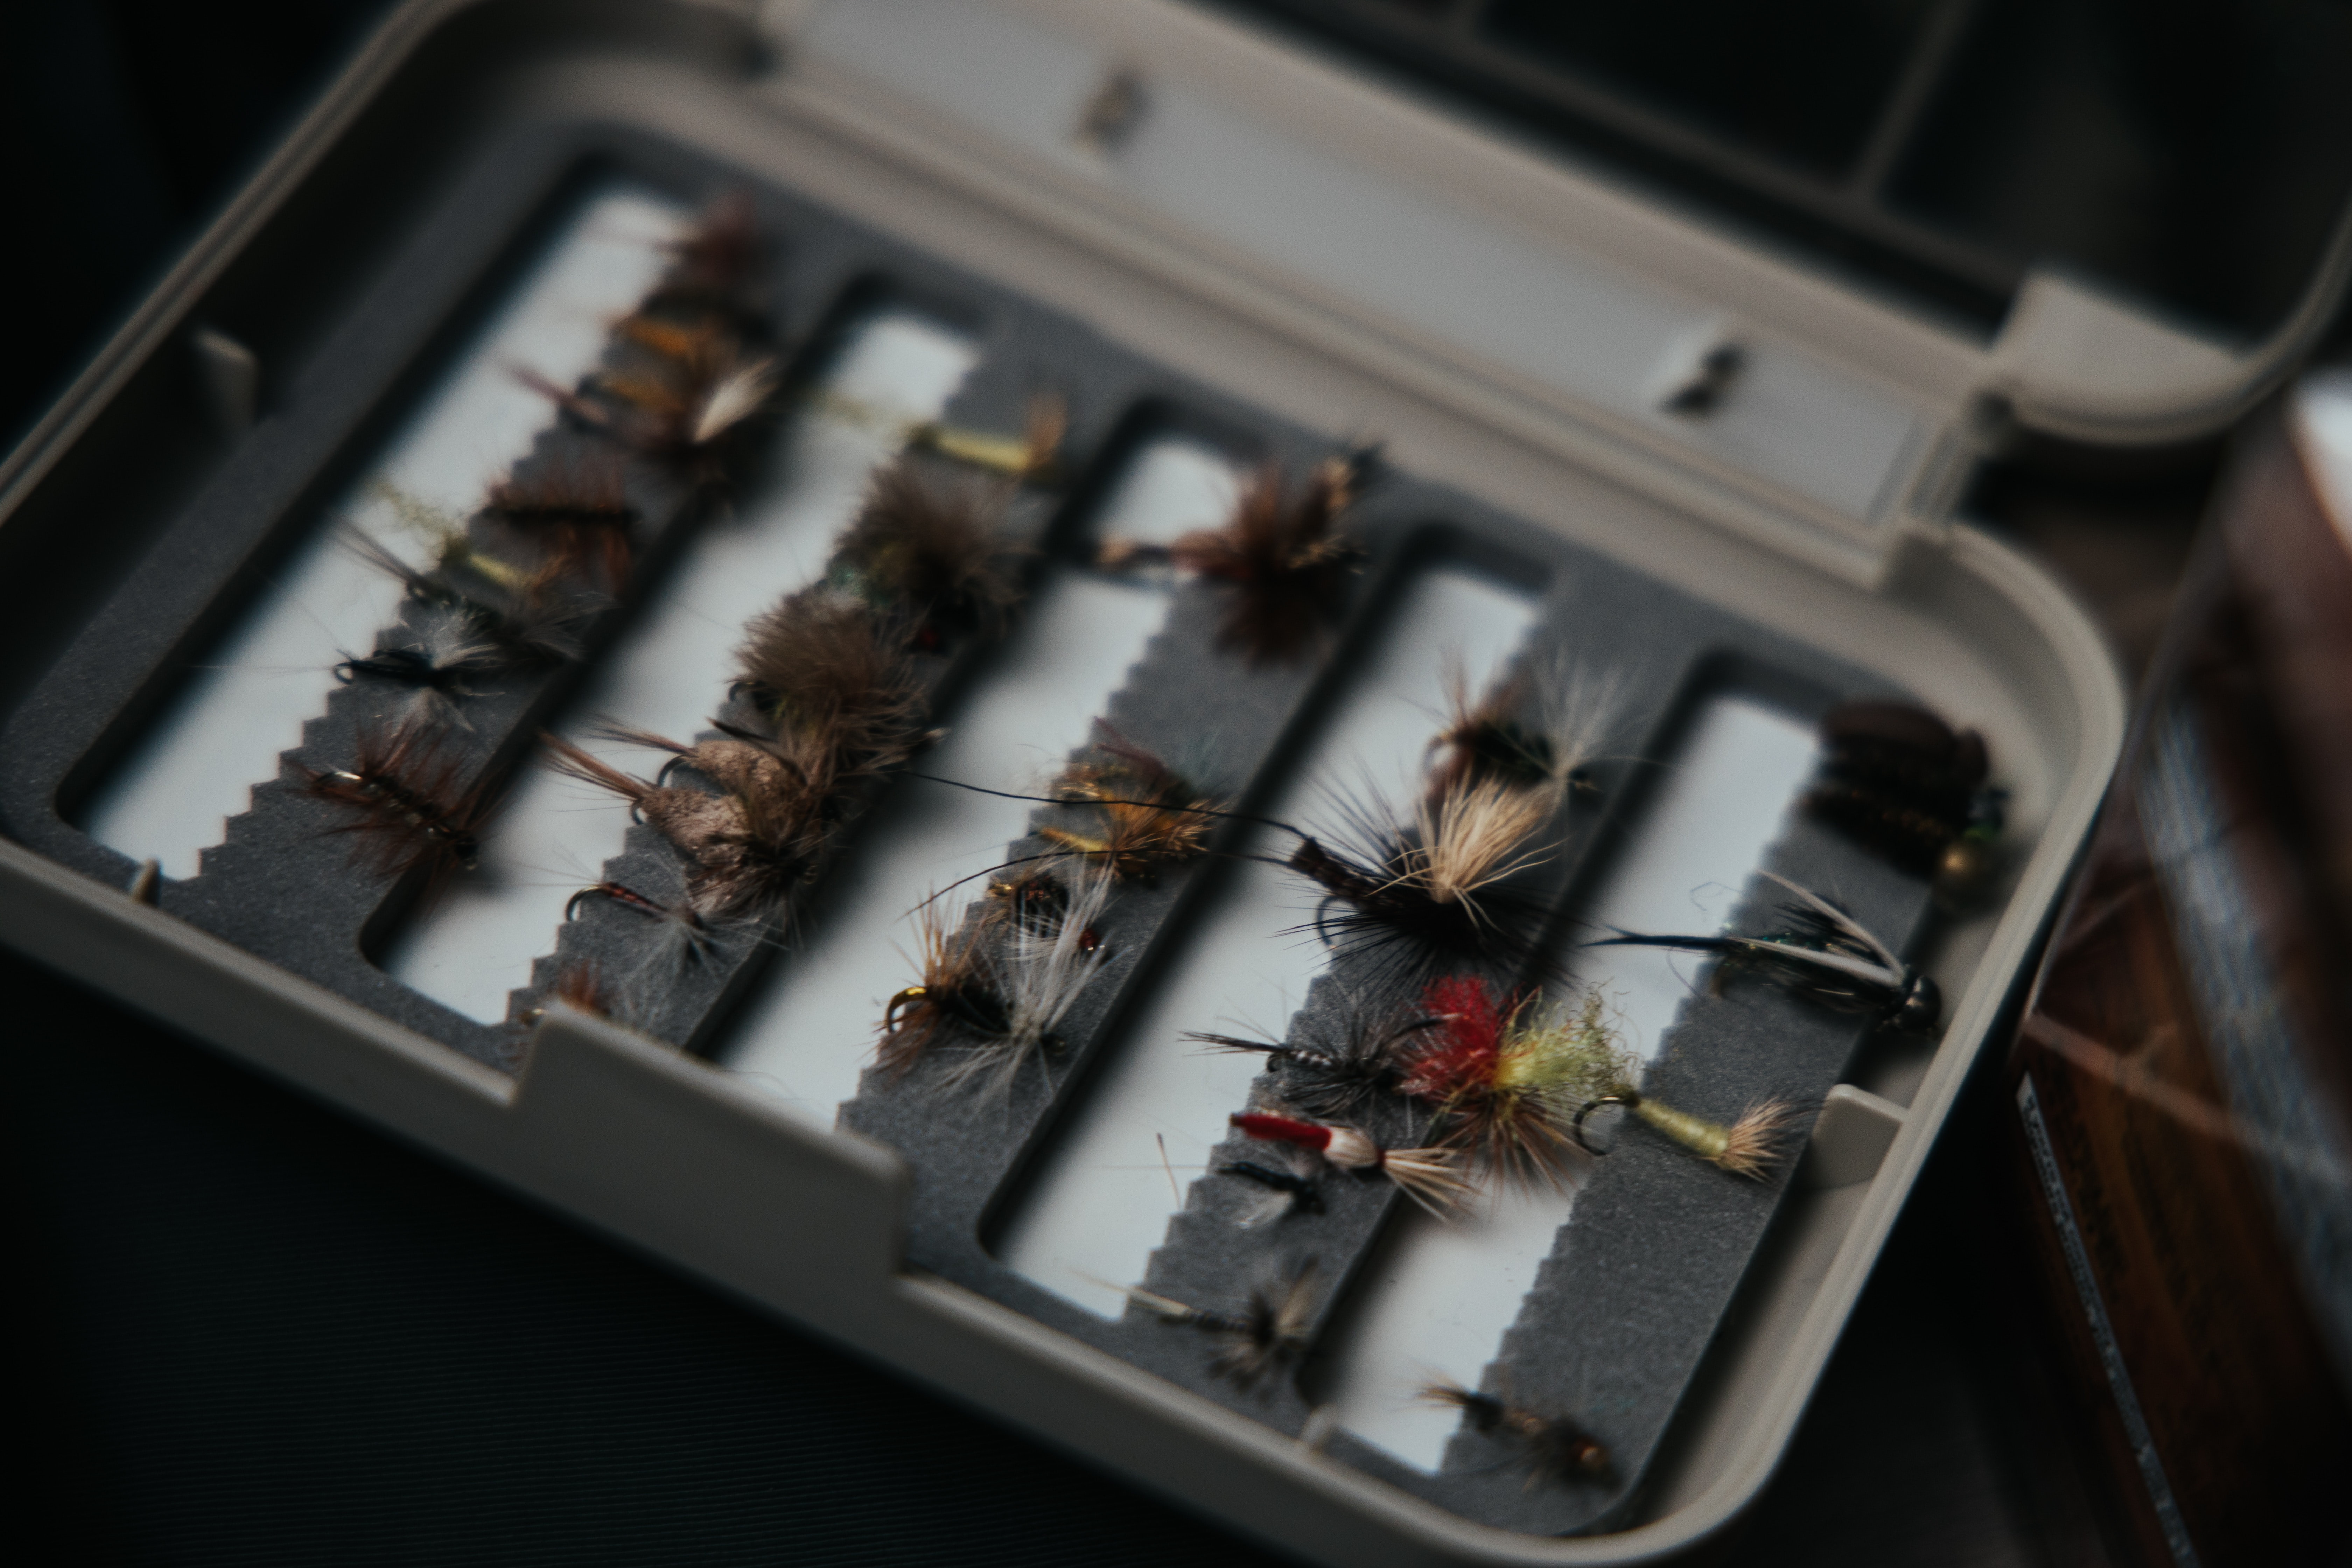
Calling all fishing enthusiasts! As many of you will know, having the right fly can make all the difference when it comes to catching fish. And while there are many different types of flies available on the market (side note- did you know that we have one of the biggest fly collections in the UK and Ireland at Serious Fishing?) tying your own fly can be a really fun and rewarding experience.
Here are some basic steps that you take when tying your own fly for fishing.
Step 1: Gather Your Materials
The first step in tying your own fly is to gather your materials. You will need a fly-tying vise, hooks, thread, feathers, fur, and other materials that you plan to use for your fly. You can also find fly-tying kits that contain everything you need to get started, or you can purchase materials individually.
Step 2: Secure the Hook
Once you have your materials, the next step is to secure the hook in the fly-tying vise. The hook should be positioned so that the eye is facing up and the shank is securely clamped in the vise.
Step 3: Tie the Thread
Next, tie the thread onto the hook just above the point. Wrap the thread around the shank in a tight spiral, working your way up to the eye of the hook. This will create a foundation for your fly and hold all of the materials in place.
Step 4: Add the Materials
Now it's time to add the materials to your fly. Start with the tail, which is typically made of feathers or fur. Tie the tail on the hook by wrapping the thread around the base of the tail and securing it in place.
Next, add the body of the fly. This can be made from a variety of materials, such as dubbing, chenille, or thread. Wrap the body material around the hook, securing it in place with the thread.
Finally, add the wings and hackle. The wings can be made from feathers or other materials, and the hackle is used to create a collar around the head of the fly. Wrap the thread around the base of the wings and hackle, securing them in place.
Step 5: Finish the Fly
Once you have added all of the materials to your fly, it's time to finish it off. Tie off the thread with a knot and trim any excess material. You can also add a drop of glue to the head of the fly to help hold everything in place.
Step 6: Test Your Fly
Now that you have tied your own fly, it's time to test it out. Take your fly to the water and see how it performs. If you're not getting any bites, you may need to make some adjustments to the fly or try a different pattern.
Tying your own fly is like anything, itíll take time to get it just right but with a little practice and patience, youíll be able to can create your own custom flies that are sure to attract fish and help you land the big one.
At Serious Fishing we have everything you need whether you want to tie your own fly or if you want to buy already made ones. Check us out both in store and online.
